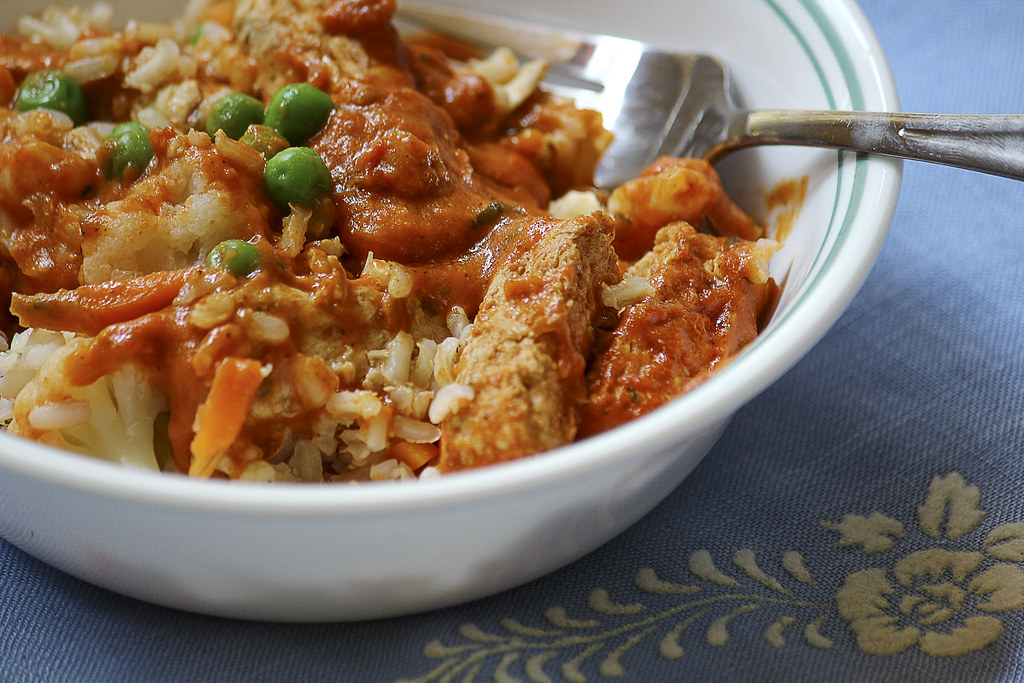
It's no secret that I like to take photos of food. I think part of having an interest about how other people live also have an interest in how other people eat. There is a whole art to food styling and propping, which I won't get into as I am really writing this for people who just want to take better photos of what they cook. I am actually against too much food styling as many techniques you see in magazines and on TV actually make the food inedible.
I made sure to not use my good camera because I wanted to give tips on how to get the most out of the camera you have. Some of these photos were shot with my phone and some were shot with my micro 4/3 camera.
1. Start with good looking food. This sounds easy enough but take an extra minute to make sure you use the best looking parts of your meal to photograph. Some foods get squishy looking or discolored through cooking so look around for the most appetizing pieces. Some people plan ahead and under-cook things that wilt like veggies so that they keep their fresh appearance.
2. Stage your set. If you have a couple seconds free during cooking, plan your shot. Will your food look better on a particular color plate? Do you want to use some props such as forks, drinks, napkins or placemats? Don't overdo it on the props, usually simpler is better. Make sure all of this is set out and placed how you want it before the food is done cooking. It's easier to use a smaller plate with smaller portions than you normally would.
3. Shoot right away. Most food will look less appetizing as each minute passes so try to take your shot as quickly as possible.
4. Use low angles. Food typically looks best when shot at lower camera angles. This isn't always the case, as some food looks good shot from straight above, but most food looks best using a 3/4 angle or lower to the plate.
 |
| 3/4 view |
 |
| Full on can still be appetizing, but is generally not as inviting. |
5. Use natural light. The light in our houses tend to give a cast to food that can make it look unappetizing. Try to photograph food using natural light from a window. Place the light source behind the food or to the side.
6. Use reflectors to bounce light back on the food. You can use something as simple as folded sheets of paper or some crumbled up aluminum foil. Place them around the food to brighten up shadows that the food casts on the plate and other parts of the food. Just make sure you don't get them in your photos, unless they don't distract from the food.
7. Use macro. If your camera has a food setting, use the food setting, but if it doesn't, use the macro setting. The macro setting is typically denoted with a little flower. These settings will show more detail than the regular settings.
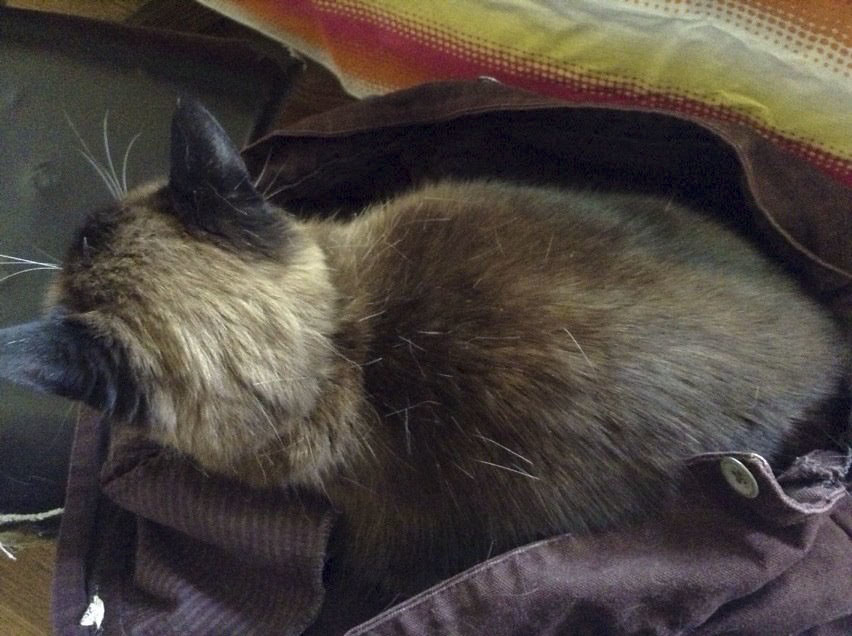
8. Shoot close. Some foods don't look look good, no matter what. In these cases shoot in very close. It doesn't solve the problem but it will make your food look better.
 |
| Not even my good camera could make this look appetizing from far away. |
9. Take multiple shots. Sometimes we think something looks good on one side, until we move the camera and find out that it really looked better from a different angle. Make it a habit to take a couple of shorts from different angles. You might like them better when you see them on a full screen.
10. Edit. There are plenty of free editing programs out there,
like Pixlr, that can help make your food look its best. I only did editing on the Masala shot, but editing can make a big difference. A lot of time photos just need a little bump in contrast.
So there's 10 tips. Most consumer cameras take photos with good contrast and a good amount of saturation so that food generally looks good, right when you take the shot.
The quality of the photos taken with my phone are obviously not the best, but a reasonably good photo can still be had with the worst of cameras. I assume most people have even a slightly better camera than the one that comes with your phone. Sometimes the phone is all you have, so remember to make the most of it.


